Main Content

How To Install A Ring Doorbell

Ring doorbells offer your home an enhanced level of security that can be monitored and controlled from wherever you are. Learn how to install these devices outside your front door with our step-by-step guide.

Not Sure Where To Begin?
A Ring doorbell offers several perks to any home, condo or apartment, as most home automation devices do. These smart doorbells use WiFi, a speaker, a camera and a microphone to monitor the outside of your home, keeping you and your loved ones safe at all times. You'll receive notifications when someone is at your door and you can even watch a live view of your front porch or speak to guests with two-way audio. Home security systems like this one bring extra peace of mind, especially when you're traveling or expecting a large delivery. But if you've just brought your new doorbell home, you may be wondering about the Ring doorbell installation process. Does this process call for a professional? Is this something I can do alone? You may even be scouring search consoles or online tutorial videos looking for a detailed walk-through. In this Ring doorbell installation guide, we aim to answer all of your questions in one single place so you can spend less time on the internet and more time keeping your home and your family secure. Keep reading and you'll get your doorbell up and working correctly (and much faster).
1
Gather & organize your tools
Depending on what Ring doorbell model you purchase, your kit will come with different tools and extra accessories. Most of the time, though, they will provide you with everything you'll need including a charging cable, screws, a screwdriver and a level (If your model does not have a level, grab your own). Some even come with a drill bit and other small fittings. The special drill bit will only need to be used if your Ring doorbell installation involves stucco, brick or concrete. If this is the case, you will need to provide your own drill. We suggest grabbing a pencil, and you can also get a flathead screwdriver and a box cutter to help you remove your old doorbell from the outside of your home if need be. Organize all of these tools and lay them out near you, so you aren't left scrambling.

2
Charge the Ring doorbell battery
If you have a wireless battery-powered Ring doorbell model, then the next step is to charge the battery (Note: all Ring doorbells give you the option for hardwiring if you prefer this). Some battery-operated models allow you to plug the charger into the port at the back of the doorbell as their batteries are internal, but others call for taking the battery pack out and plugging it into the wall using the included cable. Just use your screwdriver to remove the safety screw located at the bottom of the device. Take the faceplate off and then, push down the tab. The battery will easily slide out for you. Once the battery is plugged in, you'll know when it's actively charging when you see a red and green light. Fully charging this battery can take four to six hours, which is why we recommend doing it before you even begin the Ring doorbell installation process. How will you know when the battery is full? The red light will disappear, leaving you with a single green light. Not sure if the Ring doorbell model you purchased is battery-powered or wired? We'll break it down right here, so you can proceed with the proper instructions:
Battery-Powered:
- Ring Battery Doorbell Pro
- Ring Battery Doorbell Plus
- Ring Peephole Cam
Wired:
3
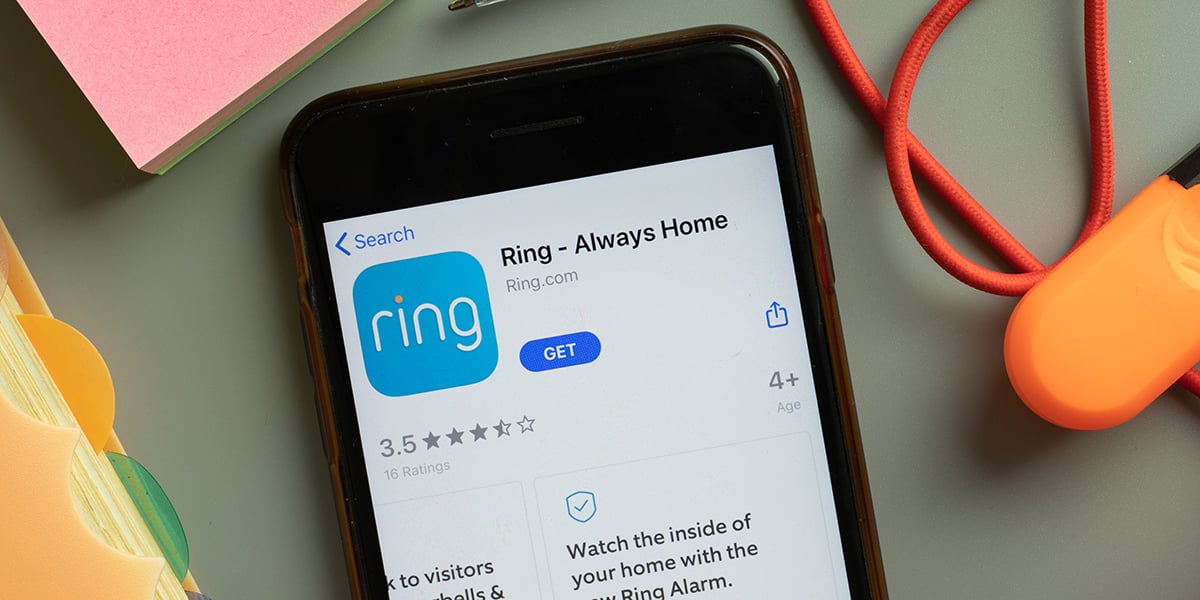
Connect to the internet & download the Ring app
Now, you'll need your smartphone handy. Go to the app store and download the official Ring app. Once it's downloaded and opened, they will provide you with onscreen instructions to link your doorbell to your home WiFi network. Getting set up and connected should only take about 10 minutes. First, you'll create an account, which can host any Ring brand product if you decide to add more later. Then, you'll select "Set Up A Device" and choose "Doorbells". The app will ask you to scan the QR code on the front of the device (some models have this QR code under the faceplate as well). After you've scanned, you can enable location tracking and customize the name of your device. Now, click the small orange button on your Ring Doorbell (either located on the back or the side). The light on the front of your doorbell will begin spinning. Grab your smartphone and click "Continue". The app will ask you to join your home network. After you've input your WiFi password, the light on your doorbell will flash blue four times, which means you're all connected and ready to start your Ring doorbell installation. If you find that your WiFi signal is too weak in the location you're installing, you may want to consider investing in a WiFi booster or a Ring Chime to help boost the signal. A Ring Chime will let out a digital sound, similar to a classic doorbell, but if you're already installing your doorbell to your original wiring, don't worry. If you have a built-in mechanical chime, this will ring as well.
4
Shut off the power
If you have a wired model or plan on hardwiring your battery-powered doorbell, then the most important thing you must do before the physical Ring doorbell installation is shut off the power. Attempting to wire an electrical device with the power on puts any user in danger of electrocution. Find your breaker box (typically located in the back of your home, in the garage or in the basement) and shut off the power to your doorbell. You can do this by flipping the doorbell circuit breaker switch to "off".
5
Remove your old doorbell
Next, you'll want to remove your old doorbell from the front of your home. Use your screwdriver or box cutter to remove the faceplate so you can expose the screws. Unscrew your doorbell from the exterior wall of your home and gently pull it out. This should expose the two power wires inside of the old model, wrapped around the screws of the doorbell. Loosen the screws to detach and disconnect the wires, but be gentle as you do not want to damage them.
6
Attach the mounting bracket
Once your old doorbell is removed, you should see a small hole with two wires hanging out. Before you do anything, open the Ring app on your smartphone and navigate to the live video feed. Hold your new doorbell in the same spot where your old doorbell once was and check the view and angle of the picture being captured. If you would prefer to tilt the camera left or right, up or down, then you might want to use one of the angling brackets that comes in the box. Ring recommends that your doorbell be installed about four feet from the ground, so if your old doorbell is higher than this, consider using the wedge attachment. After deciding on the perfect placement, use the level to make sure your bracket of choice is completely straight. Your bracket will have holes where the screws will go in. Using your pencil, mark the spaces for the new screw holes on the wall. If you've decided to use one of the angled mounts, that will need to be screwed into your wall first, proceeded by the mounting bracket. Otherwise, directly screw the mounting bracket to the wall so the wires from your old doorbell can come through the bracket hole. Do not tighten the screws too much or the bracket may bend and inhibit your ability to snap the Ring Doorbell into place correctly.
The above instructions should work perfectly fine for vinyl or wood siding. If your Ring doorbell installation involves a wall made of stucco, brick or concrete, this is where that special masonry drill bit will come in. In the same places you marked for the screws, you'll want to drill holes large enough to fit the small white plastic anchors that come in the box. These will be used to hold the screws in place. Push the anchors into the drilled holes and then screw the mounting bracket into the anchors. If you are a renter of your home/apartment rather than an owner and would like to avoid drilling holes, there are other tricks you can try, like high-quality mounting tape, that won't create permanent damage. While this is a viable solution, do take into account that this method is not as safe for your device.
7
Attach the doorbell wires
Attaching your Ring Doorbell to your original wiring will give your new doorbell the power to sound off when someone is at the door. Without this connection, or a connection to a Ring Chime device, you will have to rely on smartphone notifications to alert you. First, you'll have to loosen the screws on the back of your Ring doorbell. Then, wrap each wire around one of the screws and ensure a good, secure connection by giving each one the smallest tug. It doesn't matter which wire goes where, but the wires cannot be touching. If you need to tighten the screws, you can, but do so gently. If your wires are too short, Ring also carries wire extensions and wire nuts to extend the length of your wires for easier Ring doorbell installation.
Note: While Abt does not carry the first generation of Ring Doorbells, it's important to note that if you own this model, you will need to install a diode as well. This is a small electrical component that will help you connect your Ring to an existing digital bell. Ring doorbells 2nd generation and on have diodes already built in.
8
Mount your Ring doorbell
Once you've fed the wires back into the wall and screwed your bracket into place, you can position your doorbell right above the bracket and press it down until it clicks. There should be tabs from the mounting bracket that you can use to help line your Ring Doorbell up in the right place. If you need to use a little force to lock the doorbell in, that's completely normal. The included faceplate for the doorbell should be easy to attach just by snapping it on, starting at the top and then moving to the bottom.

9
Restore the power to your doorbell
Now that you're done touching wires and mounting your doorbell, it's safe to turn the power back on. Just flip your breaker switch and get ready to test your device. Try ringing your doorbell. If the interior chime doesn't go off, you may need to remove the faceplate so you can ensure your wire connections are secure enough. If everything is in working order, then it's safe to completely finish the Ring doorbell installation. Use the included security screws to screw the Ring doorbell and the faceplate into place so neither moves nor budges over time.
10
Set your doorbell preferences on the Ring app
While this guide is aimed at assisting you with the physical Ring doorbell installation, it's also important to set up all your preferences on the Ring app as well. Tap into night vision settings, turn on motion detection, select the areas you need your camera to cover most and choose what type of notifications you'd like to receive on your smartphone. There are also various Ring storage plans available so you can save video clips for security purposes.
Enjoy The Comfort of Constant Security
While Ring doorbell installation may seem intimidating to some, the benefits of adding this device to your home make the process more than worth it. Not only can you answer your door from almost anywhere and deter crime around your property, but your insurance company may even offer you reduced costs thanks to the presence of your security system. If you're still not sure you're ready to dust off the toolbox after reading our guide, just turn to Abt's expert team. We are happy to offer installation services to all our local customers, so you can be sure everything is wired and mounted correctly with a professional flair. Once you've experienced the luxury of a smart doorbell, you may be interested in further diving into home automation. If you're browsing the smart hubs, smart thermostats or smart lighting at our store, consider getting a few tips from our home automation guide. We'll tell you more about what each device does so you can pick the perfect model for your lifestyle.


