Main Content

How to Replace an Over the Range Microwave

Not sure how to replace an over the range microwave in your home—and do it all without expert help? This comprehensive guide will walk you through all the necessary steps of replacing your over the range microwave on your own.
Getting Started
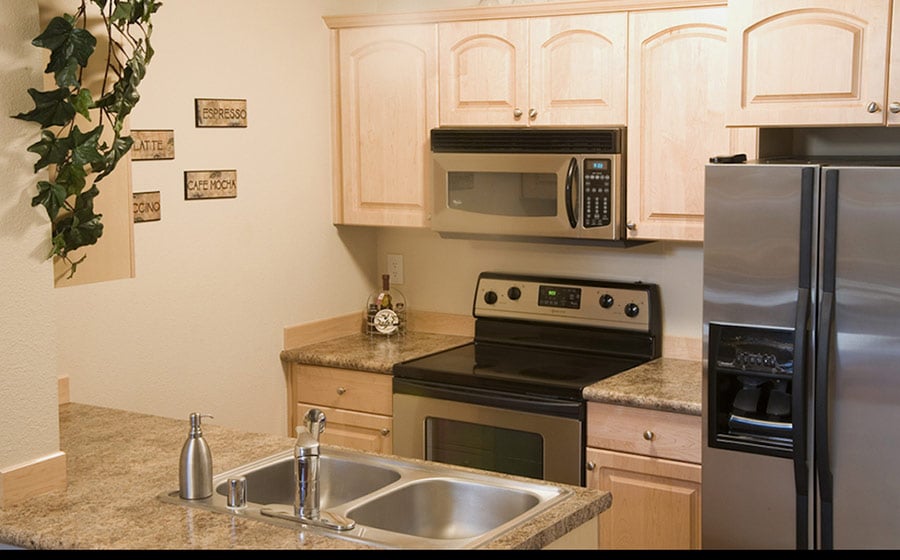
Most likely, you chose an over the range microwave because of its sleek, built-in look, versatility and space-saving functionality. These appliances can function as both quick cookers and range hoods for the ranges beneath. That makes them a great choice for small kitchens where every inch of countertop space is at a premium. Getting the microwave off the counter means more workspace in your kitchen coupled with a cleaner, more custom look. But all of these features come with the compromise of adaptability. Building the microwave into the cabinets makes it harder to move around or replace, but that shouldn't stop you from upgrading to a new model when it's time. Our step-by-step instructions below will show you how to replace an over the range microwave, allowing you to upgrade your kitchen on your own.

It can be a daunting question: How do I replace an over the range microwave? But in reality, it's easier than you might imagine. Swapping out these kitchen appliances is easily doable and, for most people, it doesn't even require the help of a professional. Reference our step-by-step guide below to switch out your old style for a new one. The result? You'll give your kitchen a quick but substantial and stylish upgrade.
- Measure Your Current Microwave: The first step in the replacement process is measuring your current setup so you know which size to buy. Generally, over the range microwaves measure 29 to 30 inches wide with a depth of 15 to 17 inches, but height can vary, so make sure to get an accurate measurement before buying a new built-in microwave.
- Pick Your New Unit: Now that you have the measurements of your existing configuration, use them to select a new microwave. For the easiest possible installation, you should buy an over the range microwave with a trim kit. Remember, standard models are not designed to be mounted. Consider picking a microwave with some of the more coveted, modern features, like convection modes and fast cooking times. Some top microwave brands to look for include Whirlpool, GE, Frigidaire and KitchenAid.
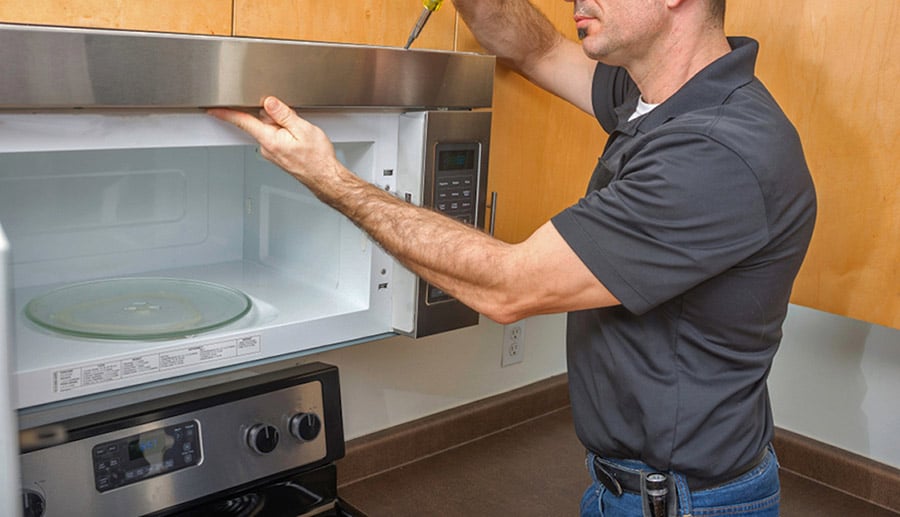
- Unscrew the Microwave: Typically, the existing microwave will be attached to the cabinets via a series of screws on the bottom of the cabinet above. With an extra set of hands to help you balance the microwave once it's unscrewed, remove the screws and the microwave. You'll also want to remove the existing mounting bracket, assuming that it won't fit the new model you plan to install.
- Install the New Bracket: The new over the range microwave will come with its own purpose-built bracket or trim kit that's used to keep it securely attached to the wall. Making sure the bracket is properly centered and flush to the bottom of the cabinet, mark the holes where you'll place the screws. Following the instructions on the new microwave's installation manual, screw the new bracket into place using included anchors or if possible, a stud in the wall.
- (If Needed) Install the Filters: One of the great things about choosing this type of microwave is that it can be used as a hood vent over your range, serving as two appliances in one. If you've selected a microwave-hood combo (sometimes called a "micro-hood"), now's the time to install the venting into the bottom of the microwave. At this point, you'll also want to install any filters provided by the manufacturer.
- Hang the New Microwave: Before you hang the microwave, make sure that there's a hole in the bottom of the cabinet for the appliance's electrical cord. Now all there is to do is angle the microwave up and attach it to the bracket. Finally, use a drill to tighten up all the screws and then plug in your microwave. It should now be ready to use! You're no longer asking about how to replace an over the range microwave—you're an expert in the field.
Pay Attention to the Manufacturer's Instructions
While these instructions can make you an expert in how to replace an over the range microwave, note that these instructions do not apply to every single over the range microwave. Installation may differ from brand to brand or model to model. Generally, the manufacturer will provide detailed instructions on how to install the microwave, and it's important that you closely follow these instructions for the best possible result.


