Main Content
View search results for DENON
Denon
Denon combines innovative engineering and expert technology to create premium audio products, including mini systems, Bluetooth speakers, home theater systems, and receivers. With a focus on precision craftsmanship and exceptional performance, Denon delivers powerful sound, advanced features, and superior design. Their commitment to excellence ensures an immersive entertainment experience, meeting the diverse needs of every audio enthusiast.
Showing
1 - 20 of 41 products
Filter
-
Abt Model: AVRS670H
- 5.2 Channel
- 75W @ 8 ohm 20 Hz - 20 kHz 0.08% THD 2ch Drive
- 1 Powered Audio Zone
- HEOS Built-in
- 6 In / 1 Out HDMI Inputs and Outputs
In StockYour Price: $649Free Shipping -
Abt Model: AVRX1800H
- 7.2 Channel
- 80W @ 8 ohm 20 Hz - 20 kHz 0.08% 2ch Drive
- 2 Powered Audio Zones
- HEOS Built-In
- 6 In / 1 Out HDMI Inputs and Outputs
In StockYour Price: $849Free Shipping -
Abt Model: DRA900H
- 2.2 Channel
- 100W @ 8 ohm 20 Hz - 20 kHz 0.08% 2ch Drive
- 1 Powered Audio Zone
- HEOS Built-In
- 6 In / 1 Out HDMI Inputs and Outputs
In StockYour Price: $799Free Shipping -
Abt Model: AVRX3800H
- 9.4 Channel
- 105W @ 8 ohm 20 Hz - 20 kHz 0.08% 2ch Drive
- 2 Powered Audio Zones
- HEOS Built-In
- 6 In / 3 Out HDMI Inputs and Outputs
In StockYour Price: $1,799Free Shipping -
Abt Model: AVRX4800H
- 9.4 Channel
- 125W @ 8 ohm 20 Hz - 20 kHz 0.05% 2ch Drive
- 3 Powered Audio Zones
- HEOS Built-In
- 7 In / 3 Out HDMI Inputs and Outputs
In StockYour Price: $2,799Free Shipping -
Abt Model: DENONHOMEAMP
- Subwoofer Output
- HEOS Built-in Multi-Room Experience
- Denon Sound Quality
- High-Res Audio Streaming
- Dolby Digital Plus, Dolby Digital, LPCM, DSD Audio Formats
In StockYour Price: $899Free Shipping -
Abt Model: DENONHOME400BK
- Premium Audio, Tuned For Exceptional Sound Quality
- True Dolby Atmos Music From A Single Speaker
- Simple Plug-And-Play Setup
- Stream All Your Music In The HEOS App
- Dimensions: 8.6" H x 11.8" W x 5.9" D
In StockYour Price: $599Free Shipping -
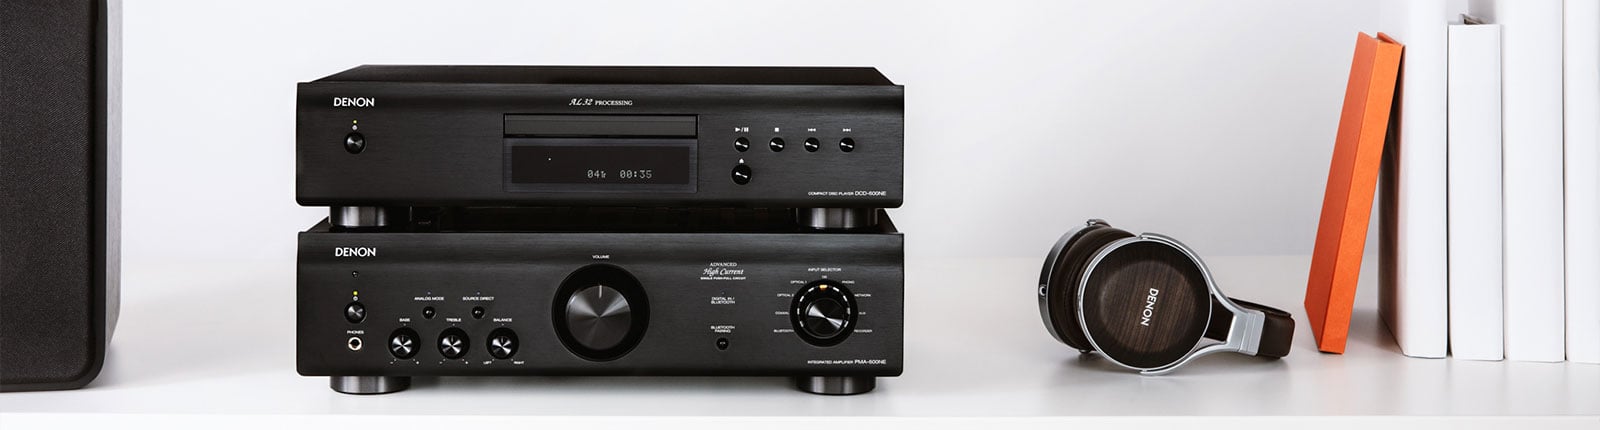
Abt Model: DCD600NE
- 2 Channels
- AL32 Processing
- CD, CD-R/RW, MP3 And WMA Support
- Advanced Circuitry With Minimized Signal Paths
- Pure Direct Mode
In StockYour Price: $499Free Shipping -
Abt Model: DENONHOME400SR
- Premium Audio, Tuned For Exceptional Sound Quality
- True Dolby Atmos Music From A Single Speaker
- Simple Plug-And-Play Setup
- Stream All Your Music In The HEOS App
- Dimensions: 8.6" H x 11.8" W x 5.9" D
In StockYour Price: $599Free Shipping -
Abt Model: PMA900HNE
- 50W + 50W Rated Output Power
- Advanced High Current Integrated
- Built-In Music Streaming
- Analog And Digital Connectivity
- Built-In Wi-Fi, Bluetooth, And AirPlay 2 Capability
In StockYour Price: $1,049Free Shipping -
Abt Model: AVRX3900H
- 9.4 Channel
- 105 W (8 ohm, 20 Hz-20 kHz, 0.08% 2ch Drive)
- 2 Powered Audio Zones
- HEOS Built-In
- 6 In / 2 Out HDMI Inputs and Outputs
In StockYour Price: $1,849Free Shipping -
Abt Model: DENONHOMESUB
- Wireless Connectivity With Denon Sound Bar Or Home Speakers For Deep Bass
- Compact And Stylish Design
- Built In HEOS
- Supports USB Thumb Drives
- Dimensions: 14.5" H x 13" W x 13" D
In StockYour Price: $649 -
Abt Model: DENONHOME600SR
- Premium Audio, Tuned For Exceptional Sound Quality
- True Dolby Atmos Music From A Single Speaker
- Simple Plug-And-Play Setup
- Stream All Your Music In The HEOS App
- Dimensions: 8.9" H x 17.7" W x 9.88" D
In StockYour Price: $799Free Shipping -
Abt Model: AVRS980H
- 7.2 Channel
- 90W @ 8 ohm 20 Hz - 20 kHz 0.08% 2ch Drive
- 2 Powered Audio Zones
- Bluetooth, Wi-Fi, HEOS Connectivity
- 6 In / 2 Out HDMI Inputs and Outputs
In StockYour Price: $949Free Shipping -
Abt Model: AVRX2900H
- 7.2 Channel
- 95 W (8 ohm, 20 Hz -20 kHz, 0.08% 2ch Drive)
- 2 Powered Audio Zones
- HEOS Built-In
- 6 In / 2 Out HDMI Inputs and Outputs
In StockYour Price: $1,349Free Shipping -
Abt Model: DENONHOME200BK
- Premium Audio, Tuned For Exceptional Sound Quality
- Standalone True Stereo Speaker With Dolby Atmos Music
- Simple Plug-And-Play Setup
- Stream All Your Music In The HEOS App
- Custom-Engineered Drivers For Rich, Detailed Sound
In StockYour Price: $399Free Shipping -
Abt Model: HEOSLINKHS2SR
- Number of Optical Digital Audio Inputs: 1
- Number Of USB Inputs: 1
- Number Of Auxiliary Inputs: 1
- Parts Warranty: 2 Years Limited
- Labor Warranty: 2 Years Limited
In StockYour Price: $400Free Shipping -
Abt Model: HOME250BK
- Wireless Whole-Home Audio
- Denon Sound Quality
- 3 Quick Selects To Store Your Favorite Stations
- Apple AirPlay 2
- Works With Amazon Alexa
In StockYour Price: $549Free Shipping -
Abt Model: RCDN12
- Mini All-In-One Hi-Fi System
- Built-In CD Player And Radio
- Powered By HEOS Multi-Room Streaming
- HDMI ARC For TV Connection
- Moving Magnet Phono Input For Turntables
In StockYour Price: $699Free Shipping -
Abt Model: DENONHOME600BK
- Premium Audio, Tuned For Exceptional Sound Quality
- True Dolby Atmos Music From A Single Speaker
- Simple Plug-And-Play Setup
- Stream All Your Music In The HEOS App
- Dimensions: 8.9" H x 17.7" W x 9.88" D
In StockYour Price: $799Free Shipping


Showing
1 - 20 of 41 products
Featured Denon Videos


Loading...
Over 90 Years Of Experience


Your recently viewed items:
Thermador Black 30" Masterpiece Series Built-In Double Oven

Thermador Black 30" Masterpiece Series Built-In Double Oven

GE Hotpoint 30" RGB790DEPWW White Free-Standing Gas Range

GE Hotpoint 30" RGB790DEPWW White Free-Standing Gas Range